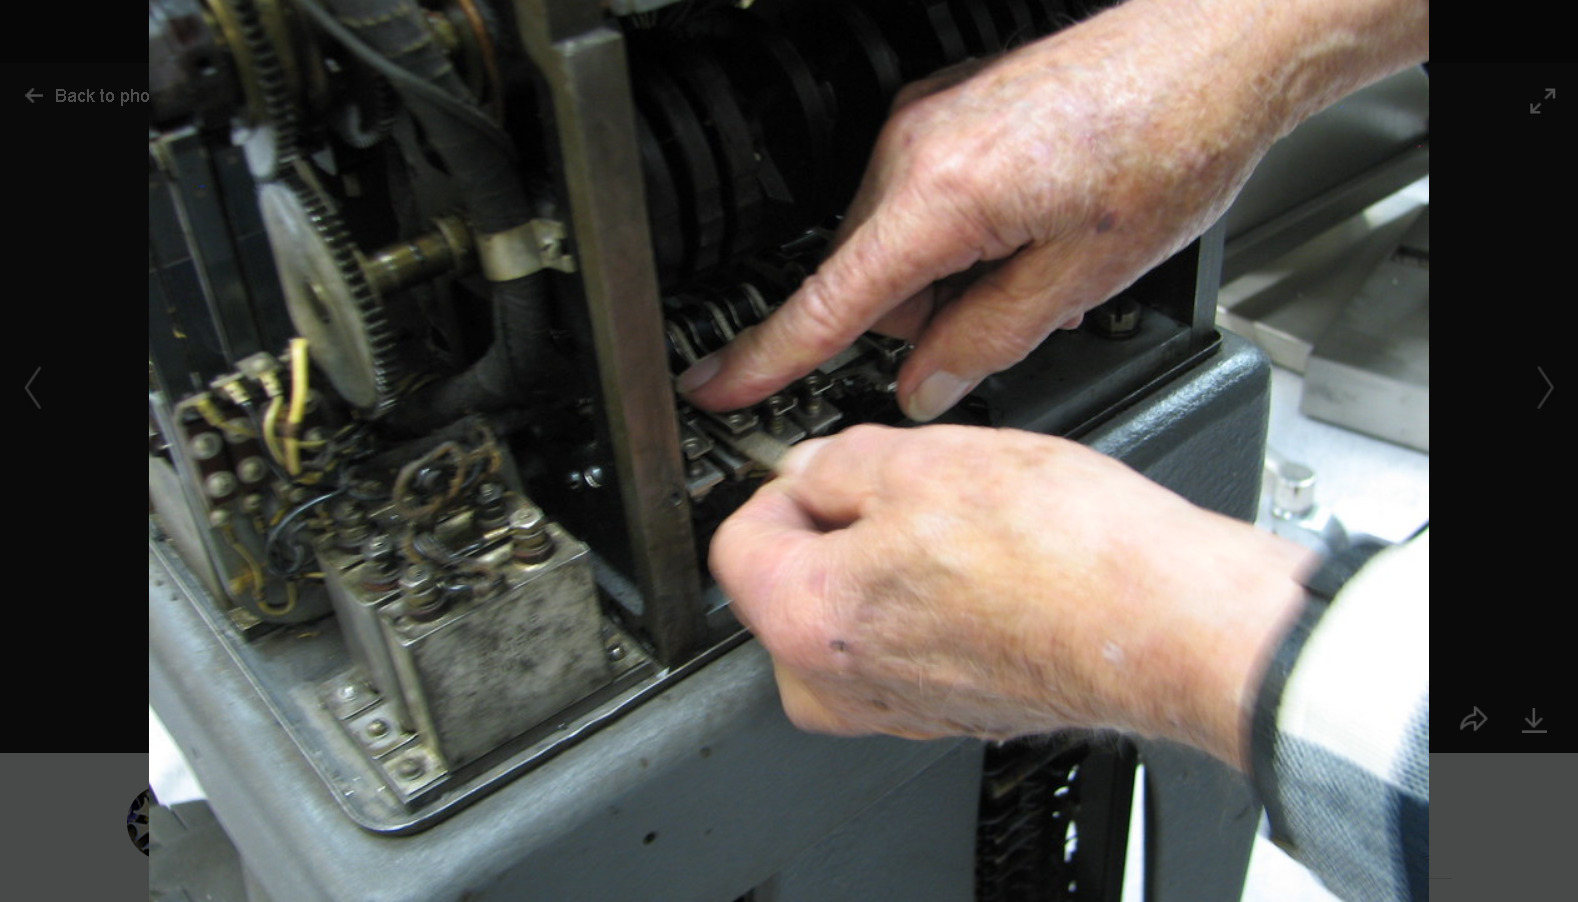
from https://www.flickr.com/photos/32021540@N03/sets/72157615497649959/
Return to 513 Summary Punch
Rwturn to 1402 Card Reader/Punch

A Lubrication Guide for IBM High Speed Card Readers

IBM 513 Maintenance

A step-by-step procedure for doing regular maintenance on an IBM 513 Reproducing Punch,
by Bob Erickson and Judith Haemmerle. Still in progress - captions not complete.

Some ideas may be applicable to the IBM 1402, one generation later.


Album description
A step-by-step procedure for doing regular maintenance on an IBM 513 Reproducing Punch, 
by Bob Erickson and Judith Haemmerle. Still in progress - captions not complete.

Maintenance Schedule:

Clean punch feed every 3 months or 1000 hours.

Every three months, drop the read and check brushes, remove the rollers and oil through 
holes in the frame as in 14a on.

Clean read unit every 6 months or 3000 hours.

Oil gear train with every cleaning.

Use IBM 10 or equivalent for all lubrication unless otherwise specified.

Once a year, put oil in the motor cups and alemite (?) in the motor-generator.

After maintenance, start up the 513 and check hole registration. It may be necessary 
to adjust the magnet unit placement.

Photos taken on March 18, 2009
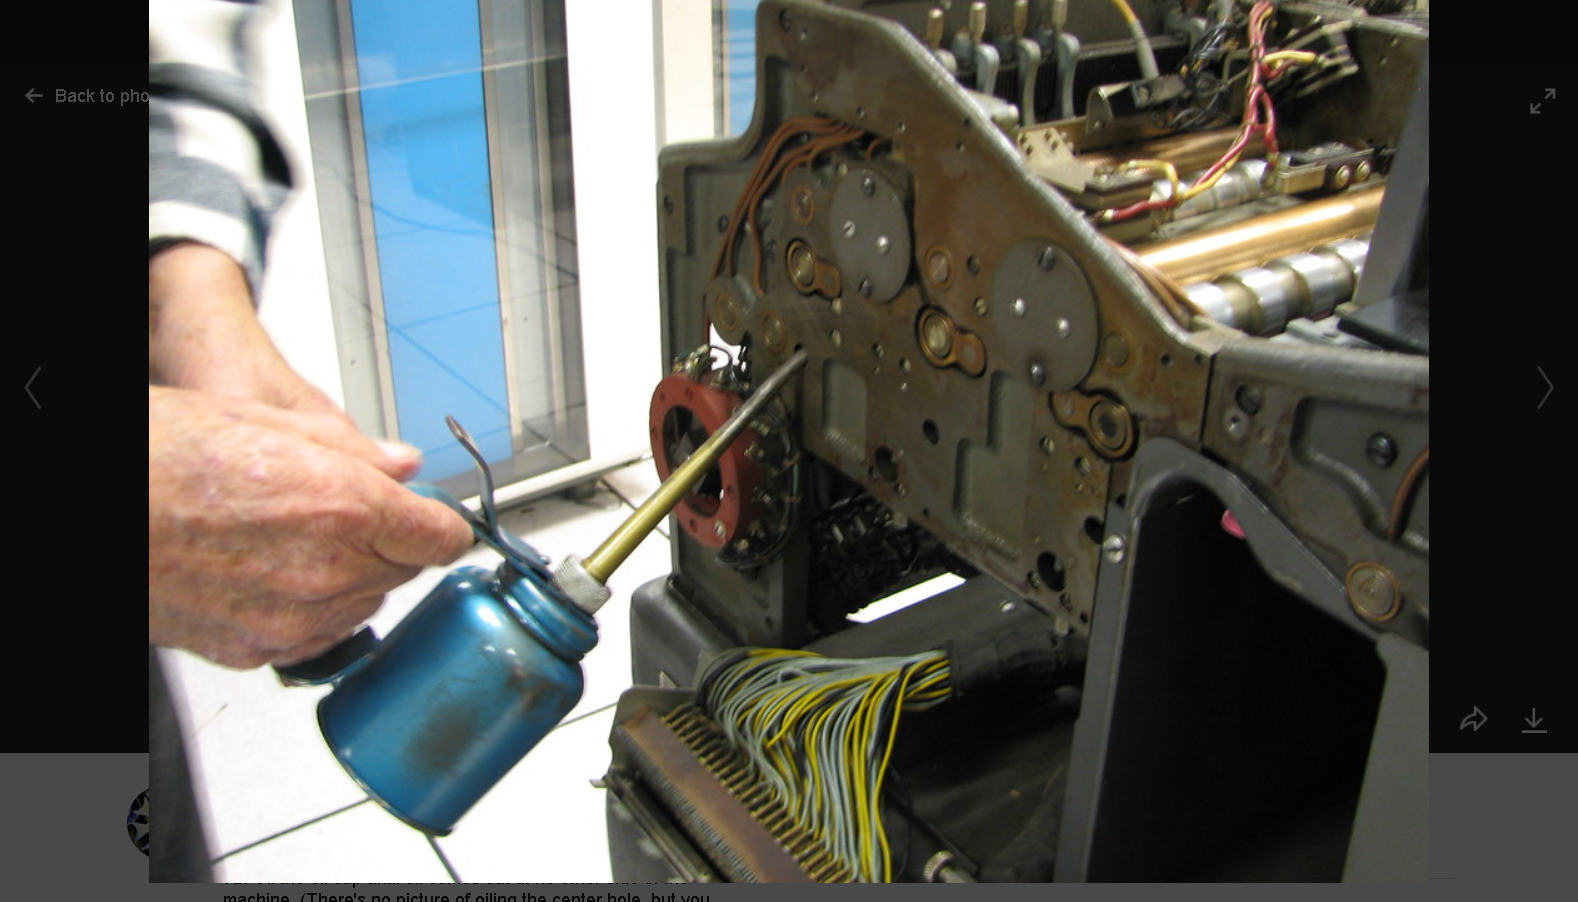

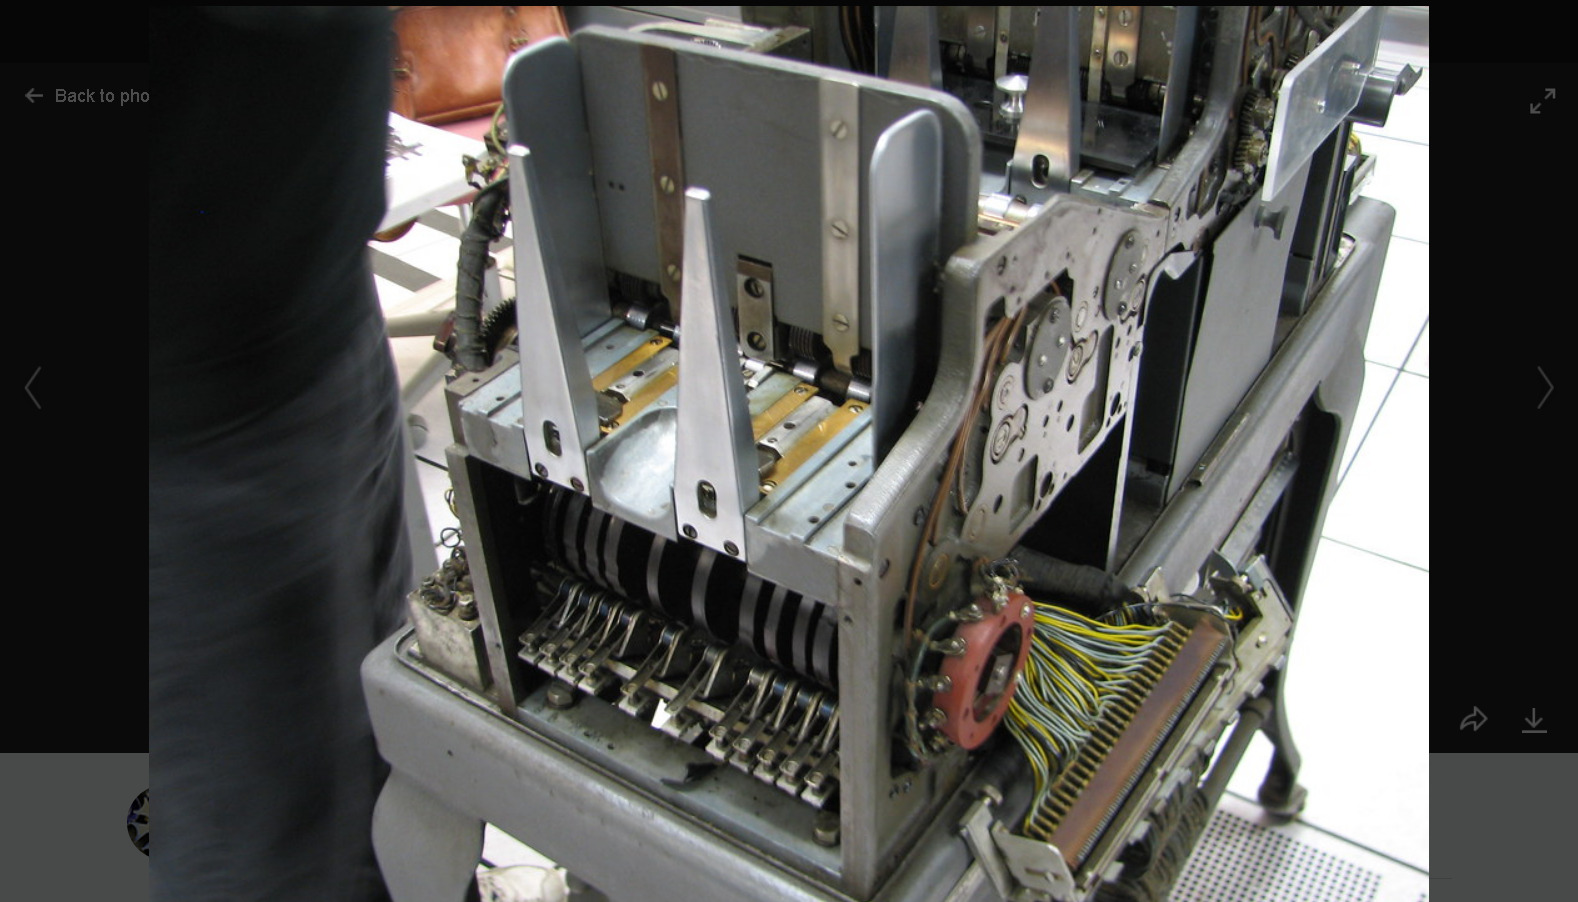
60. Read Side Maintenance - Before starting, clean the area if there is dirt in it.

61. Remove read brushes - Removing the read brushes is the same procedure as removing the brushes in part 1.

62. Remove check brushes - Remove check brushes.

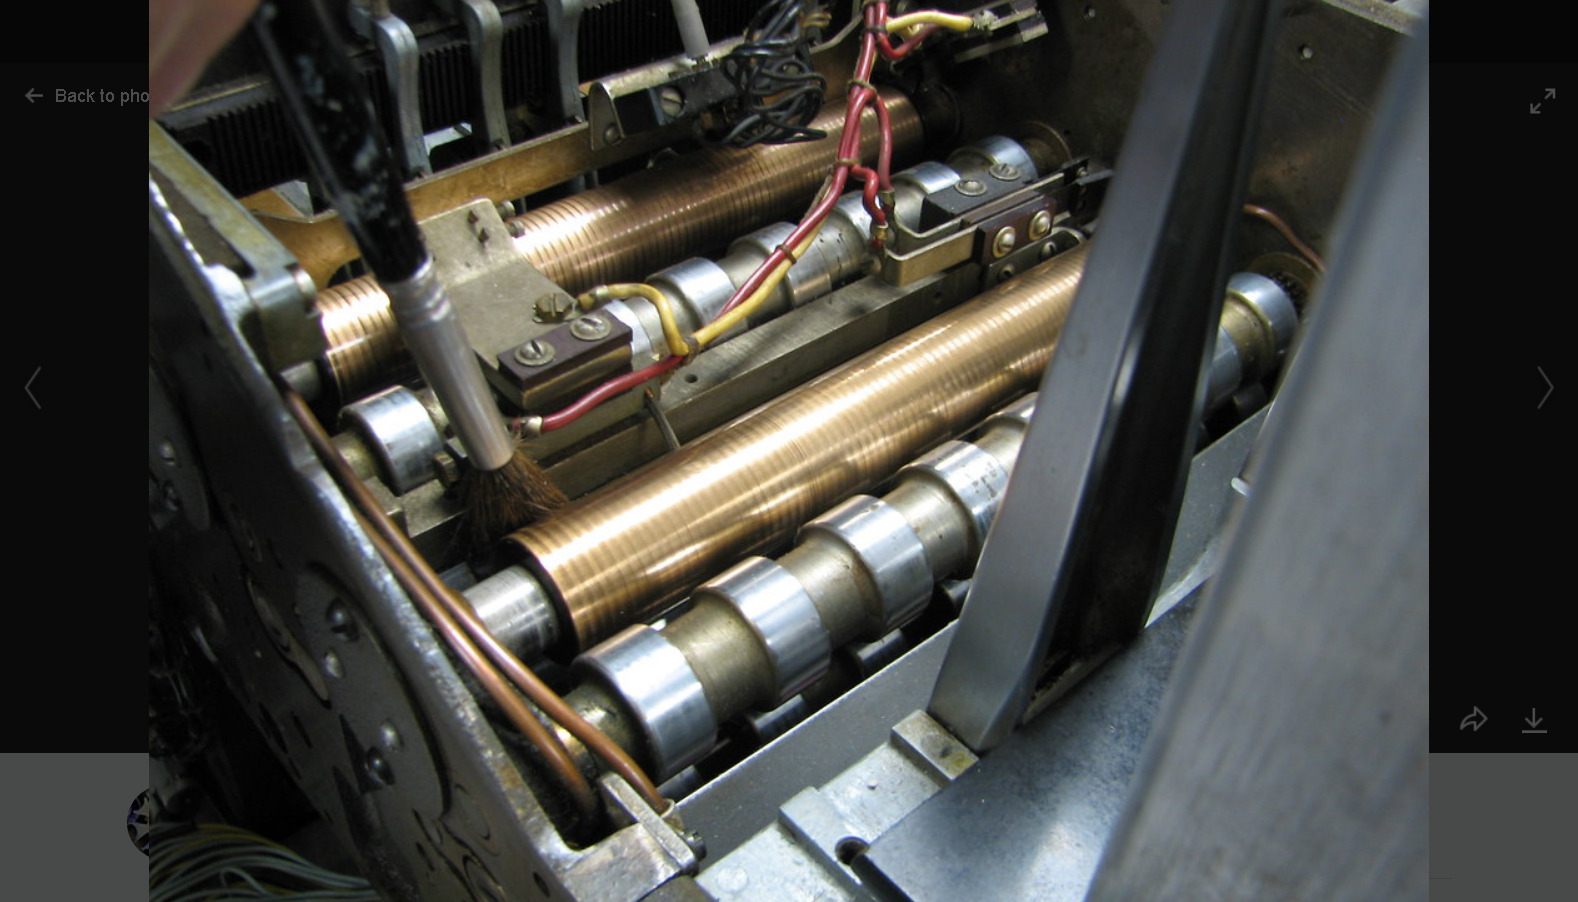
63. Remove dirt - Remove any dirt using a clean soft brush.

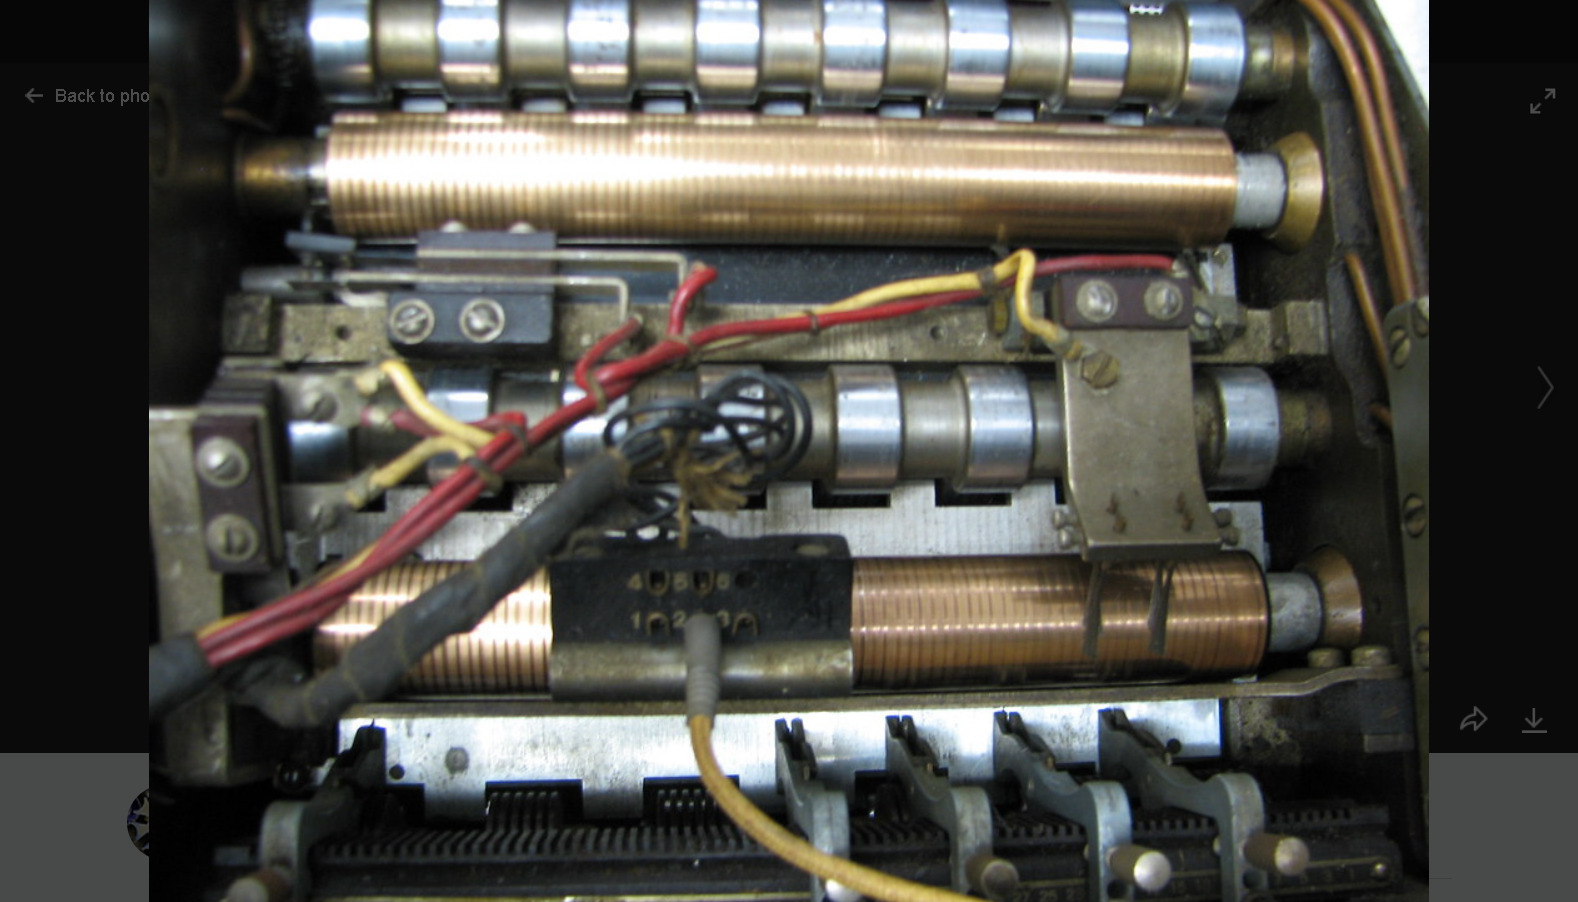
64. Remove dirt. - There's no dirt here - it should look like this when you're done!

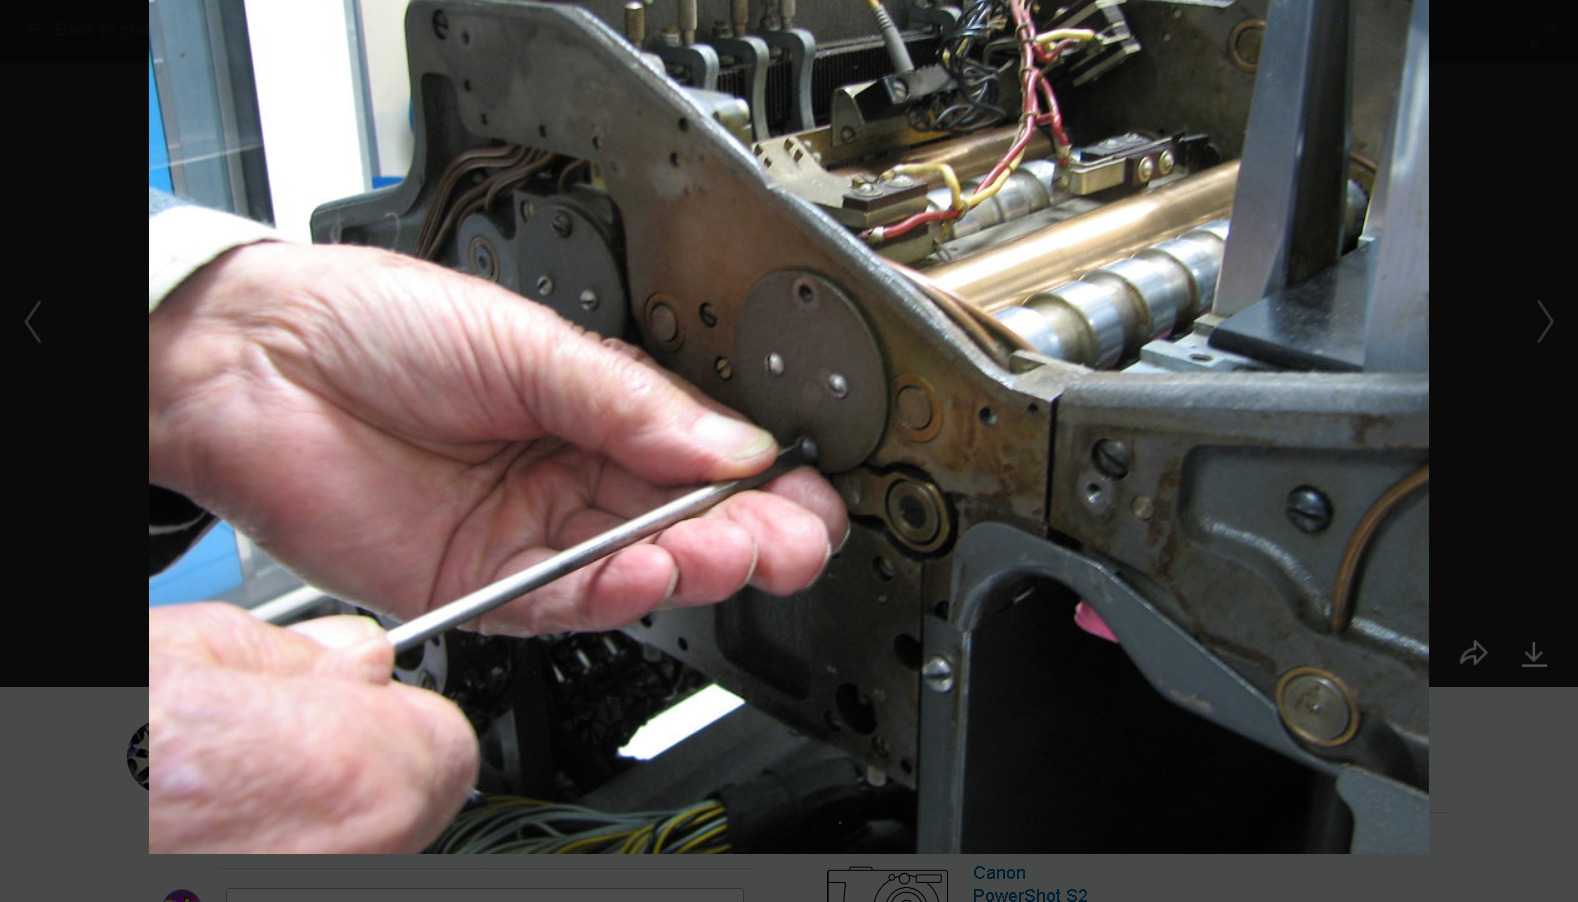
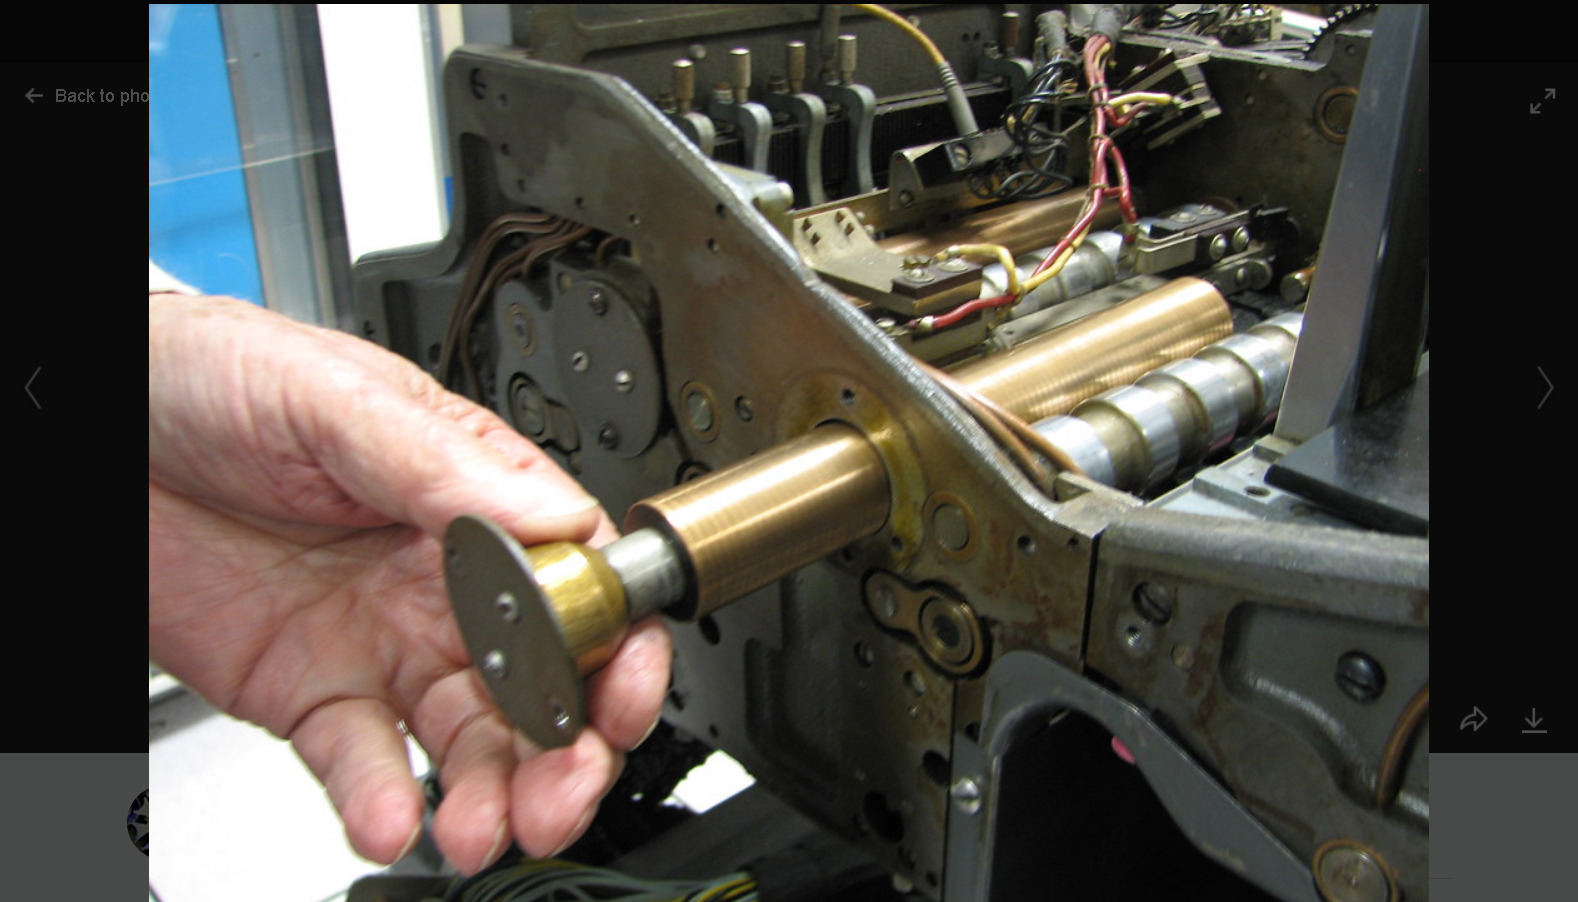
65. Remove contact roller - Remove the contact roller by removing two screws, top and bottom, from the retaining plate.

66. Removing contact roller - Contact roller coming out.

67. Contact roller out - The contact roller has been removed so that you can reach the oil filler tubes

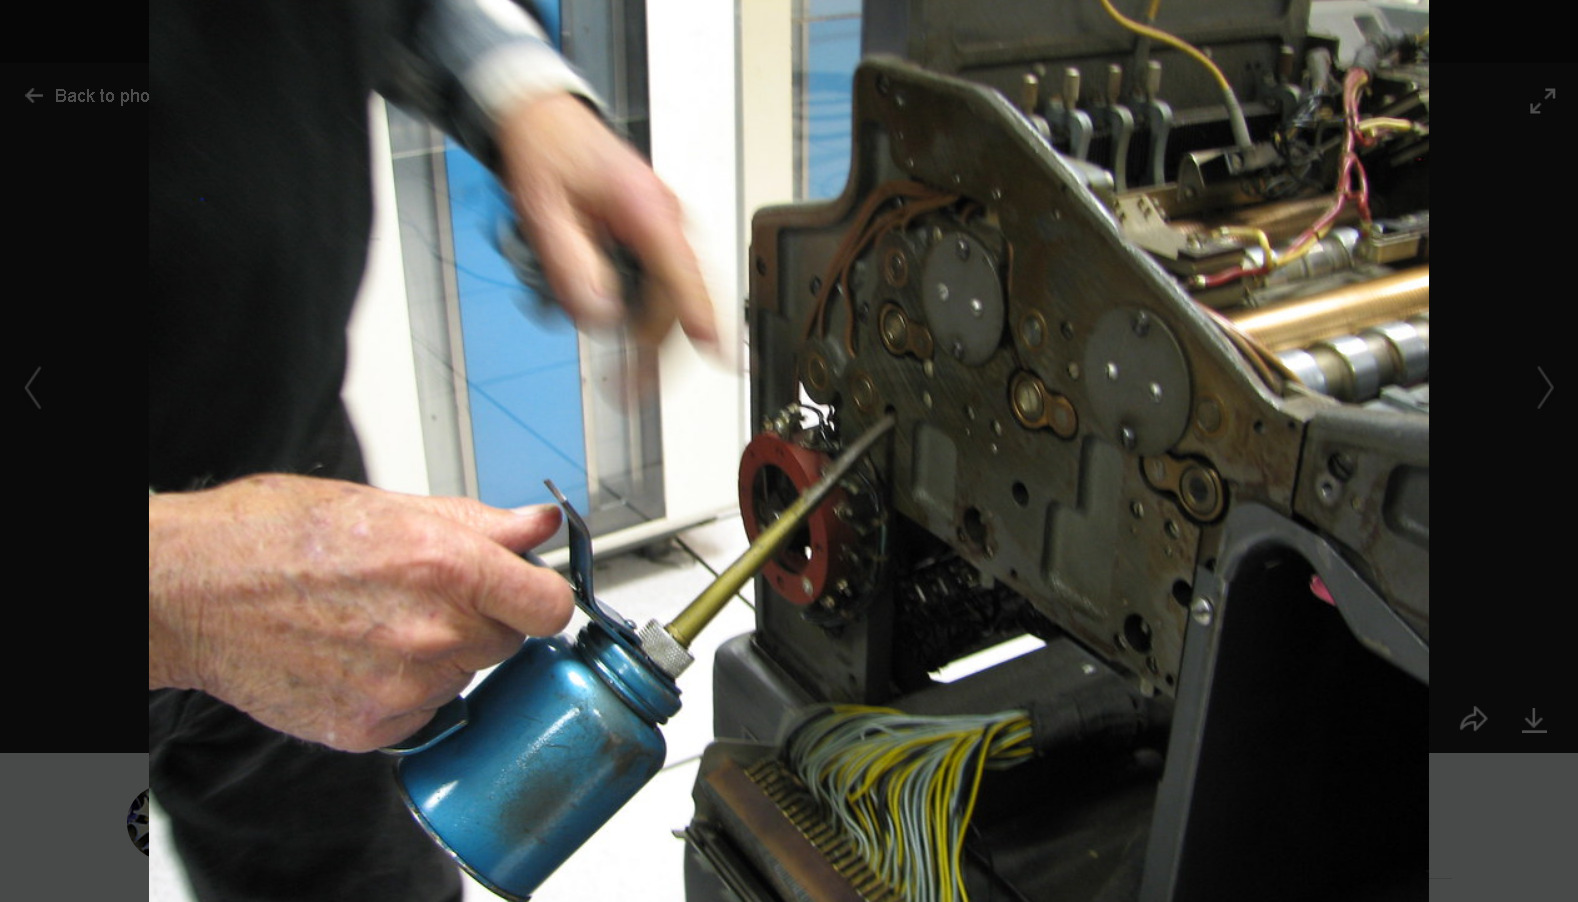
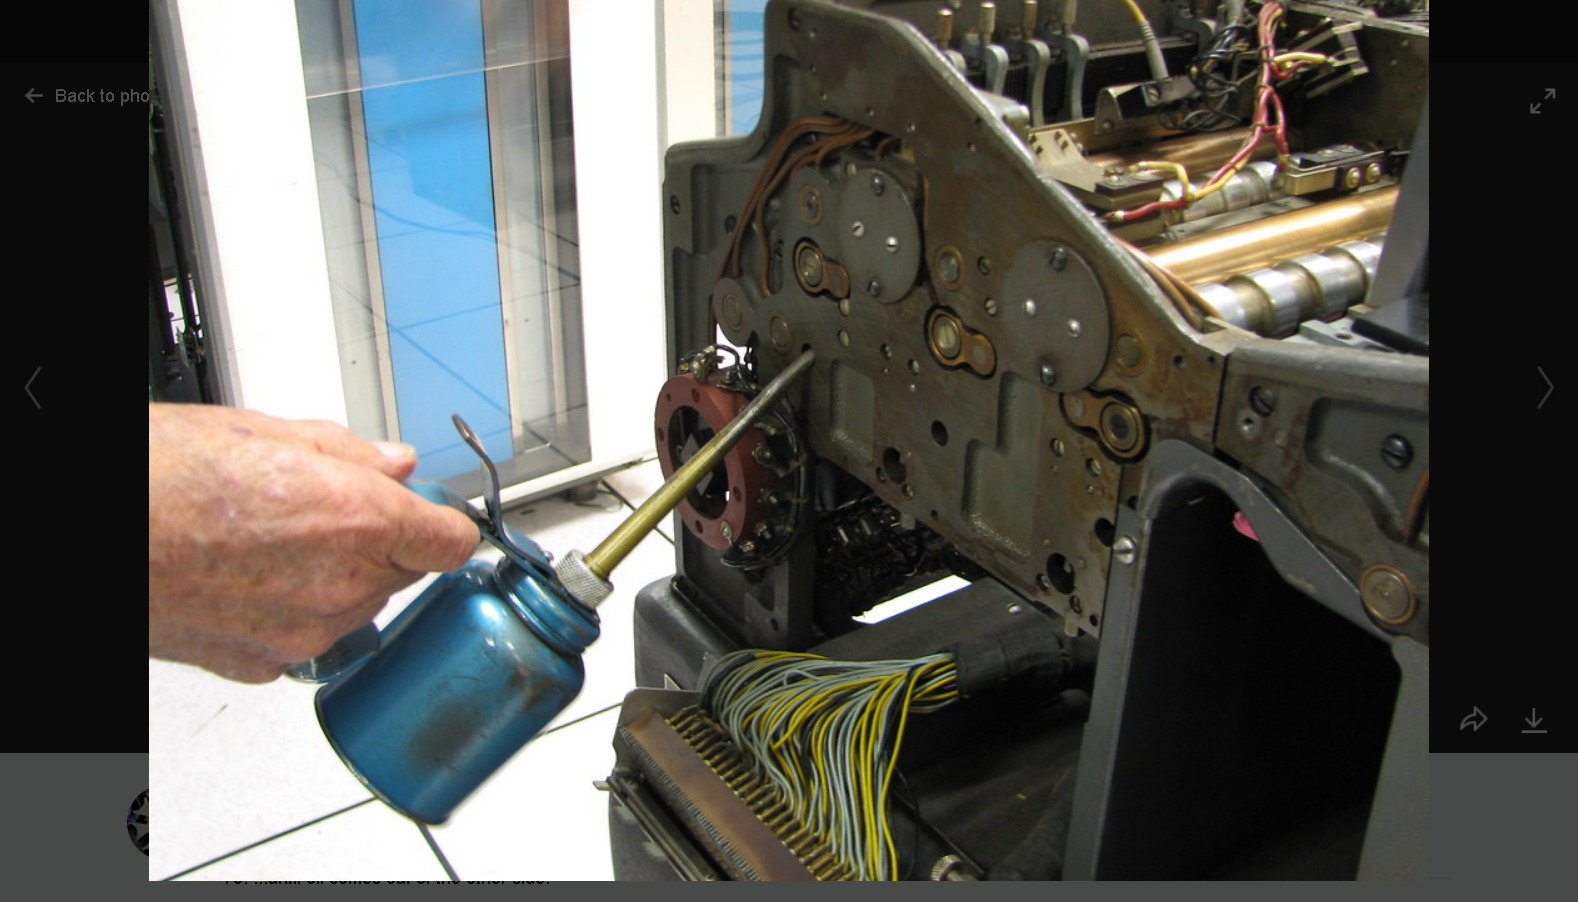
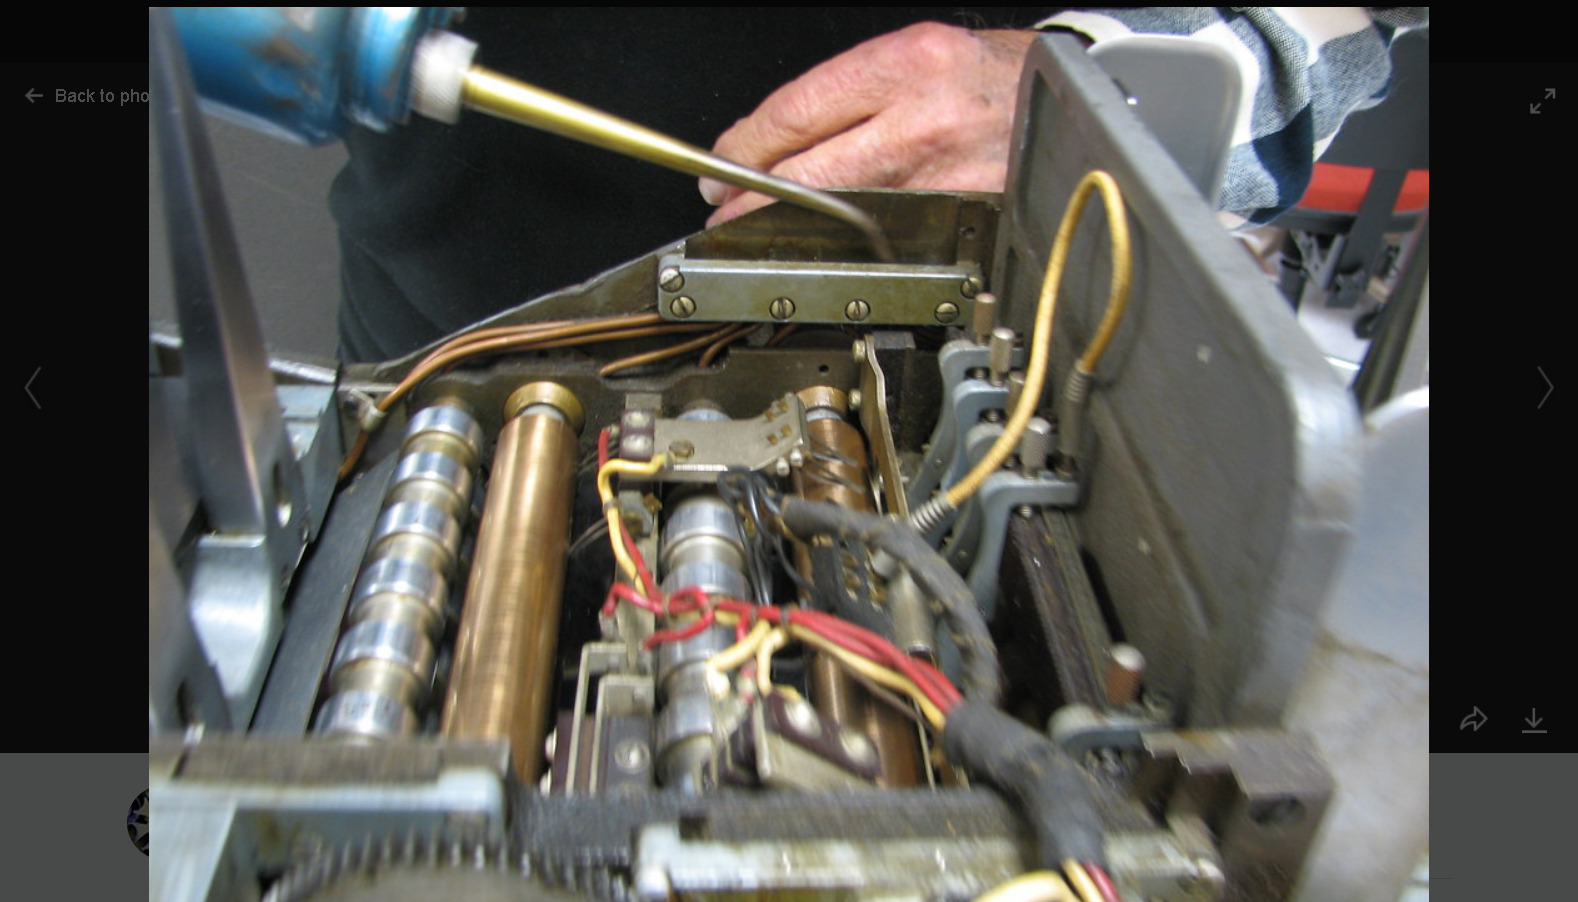
68. Oil filler tubes are below - Open the top of the oil filler tube

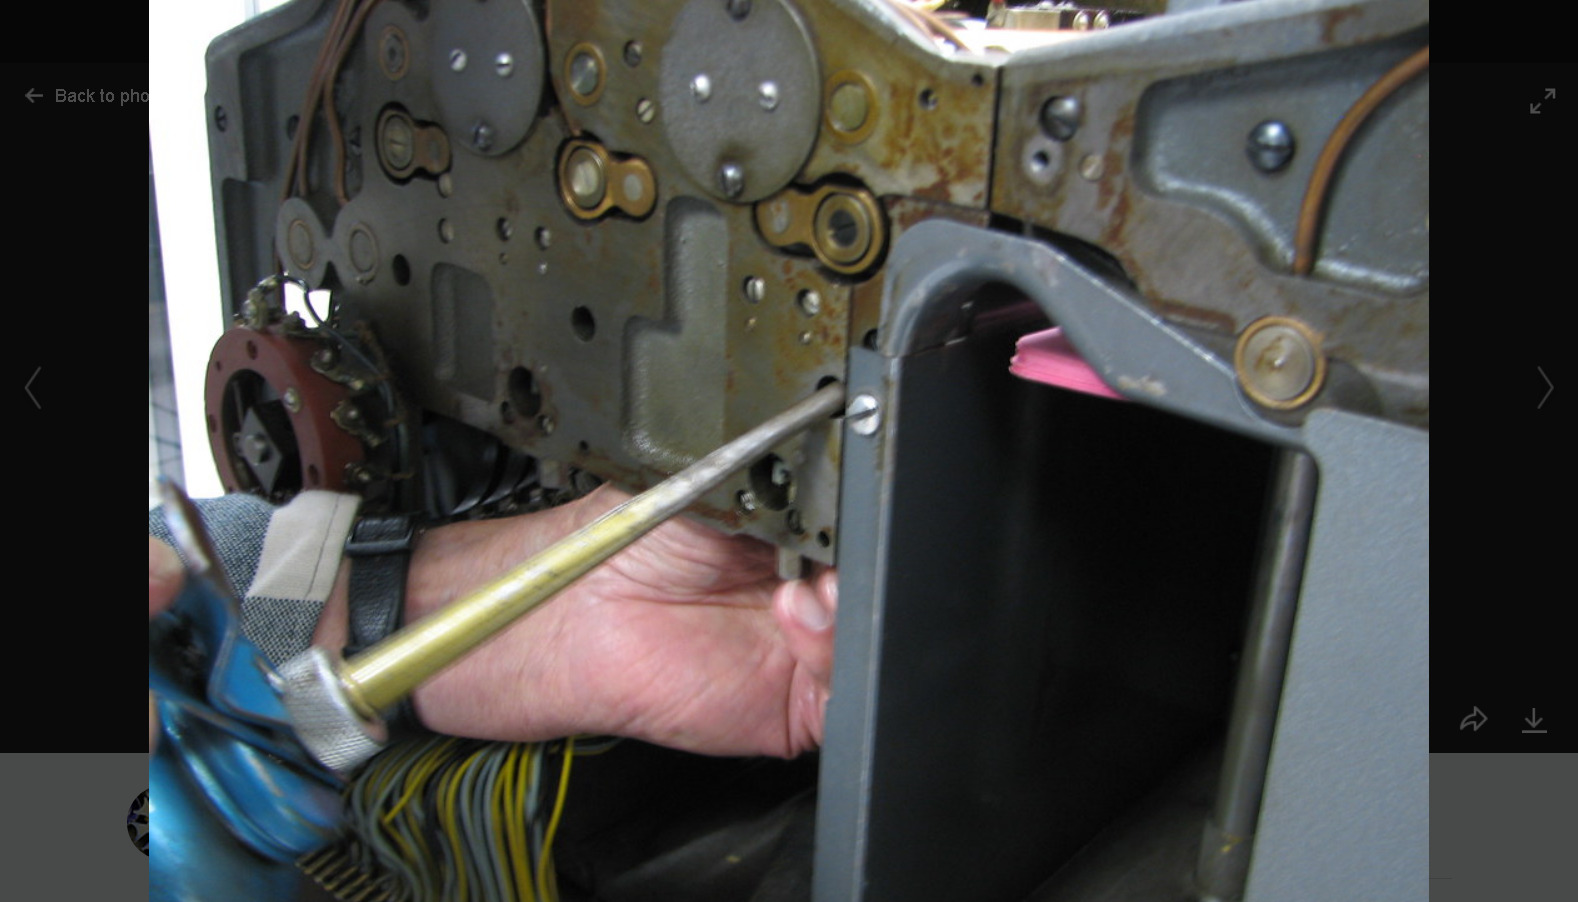
72. The center hole oils the check brushes - Oil the oil cup until oil comes out at he other side of the machine. (There's no picture of oiling the center hole, but you should be able to find it. It's the middle hole.)

69. Oil x-brushes - The far left hole oils the x-brushes.

70. Oil x brushes - ...until oil comes out of the other side.

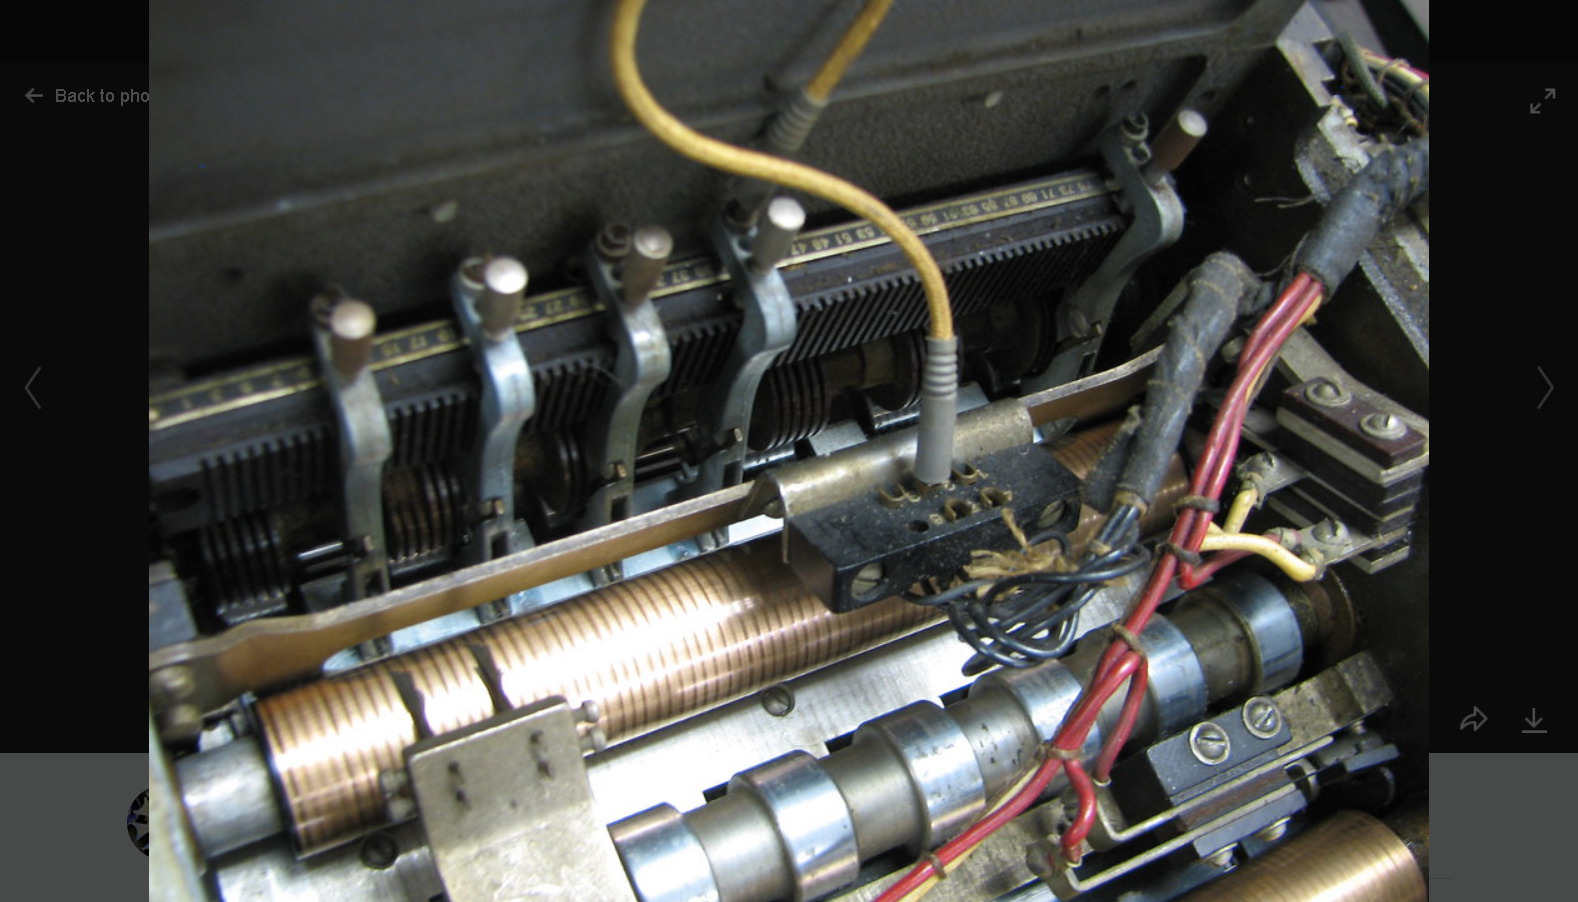
71. The x brushes - These 4 things are the x-brushes.
There is no item 72

73. Oil read stacker - The third hole oils the read stacker.

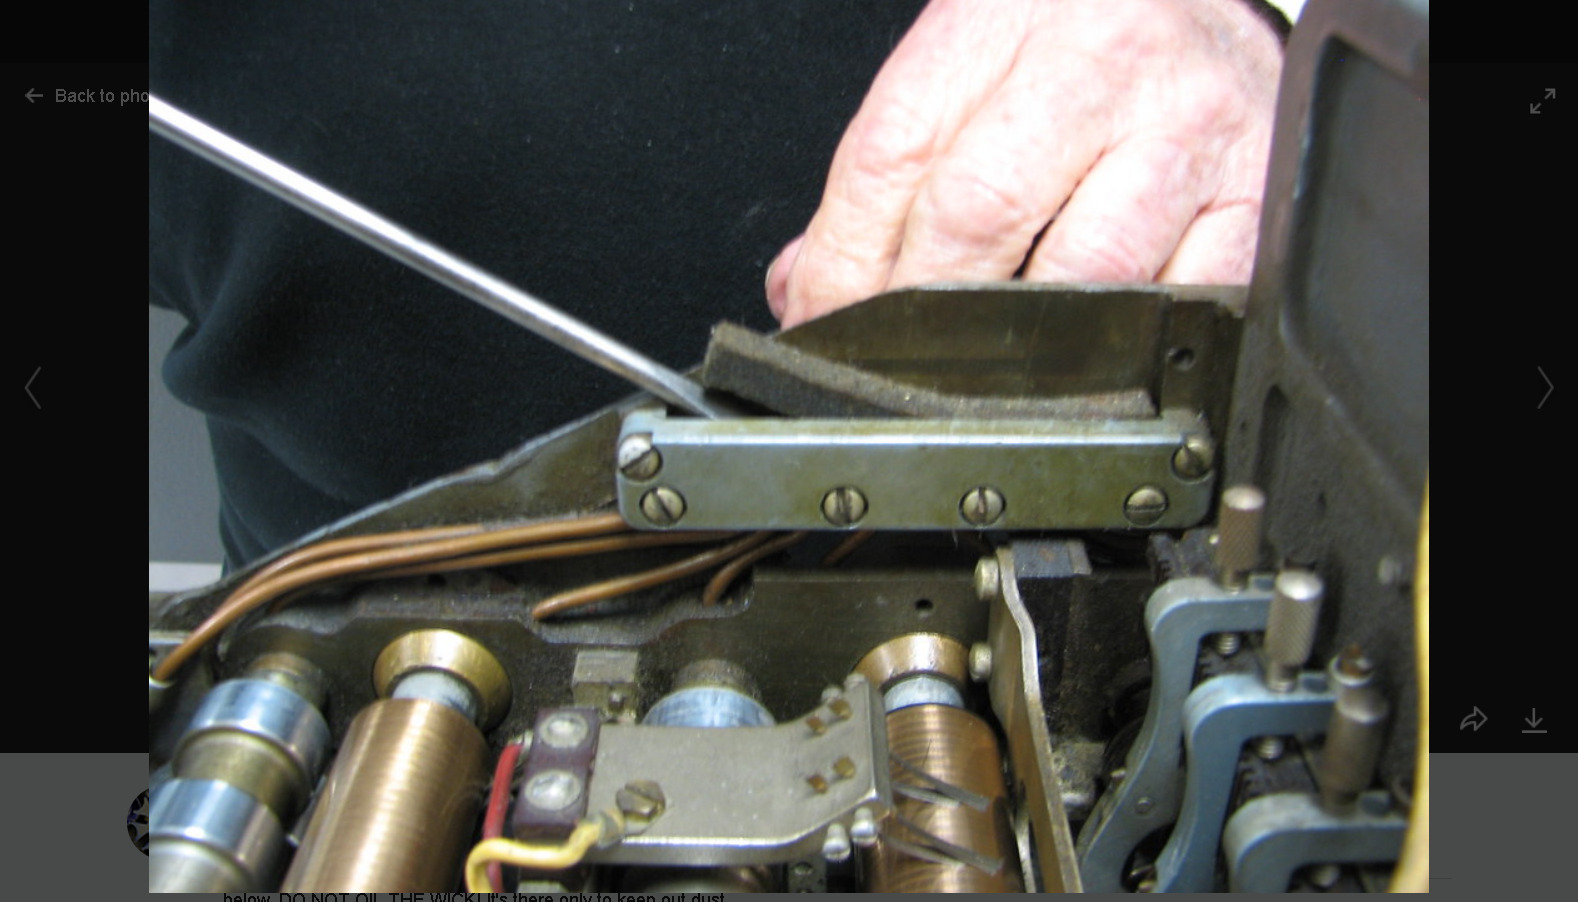
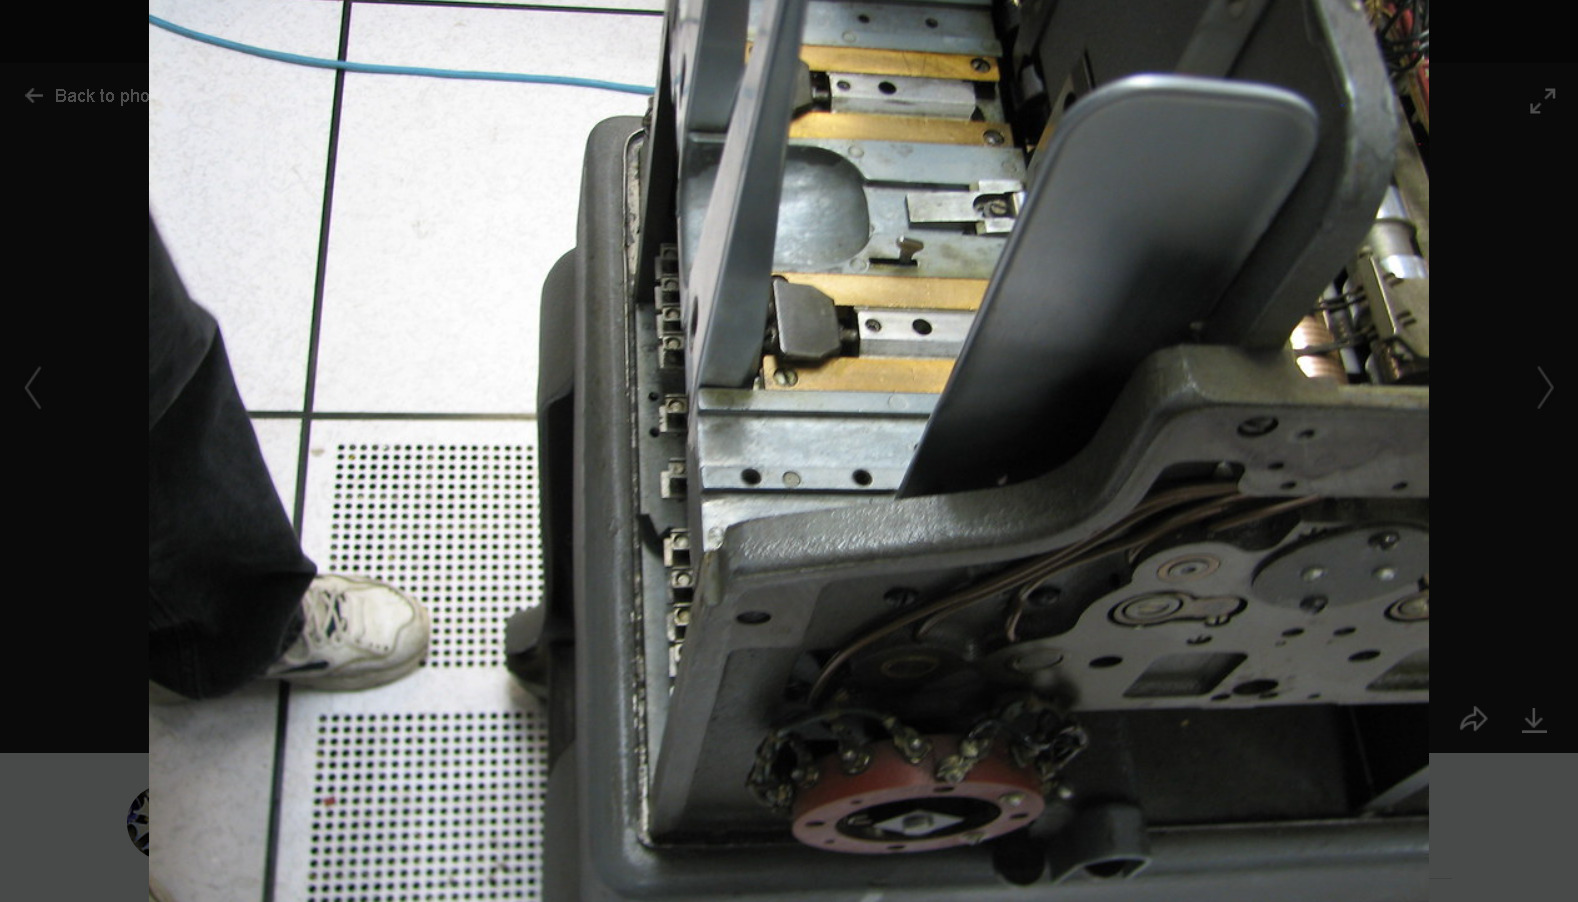
74. Lift felt wick - There are three felt wicks. Lift the wick and oil the holes below. DO NOT OIL THE WICK! It's there only to keep out dust.

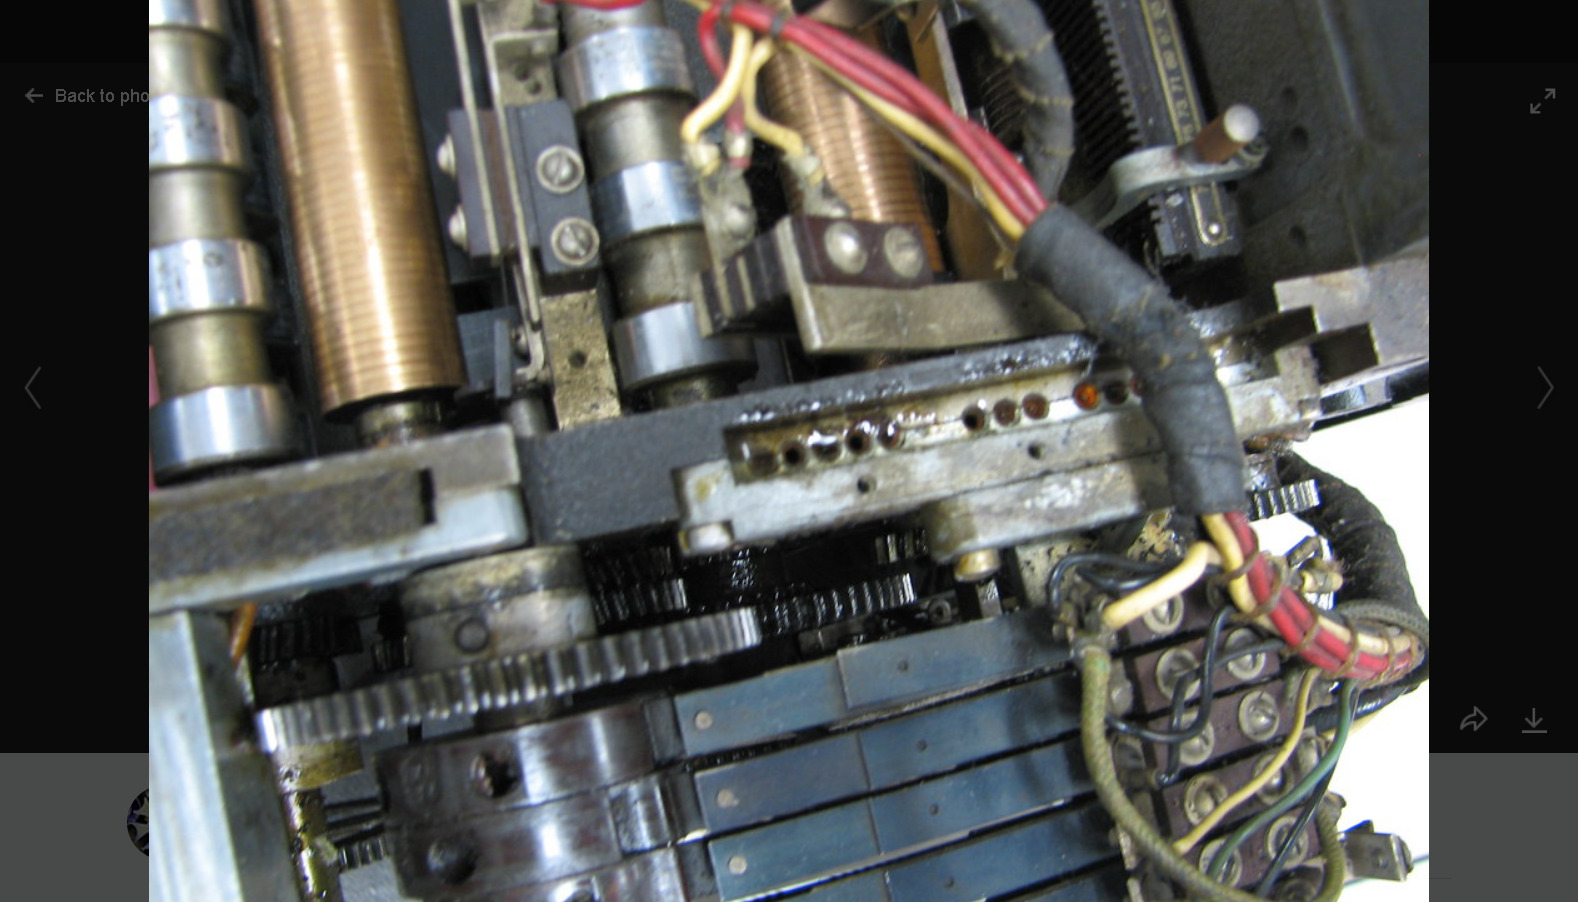
75. Oil holes - Fill holes with oil.

76. Lower level oil holes - Here's what the row of holes look like under the wick.

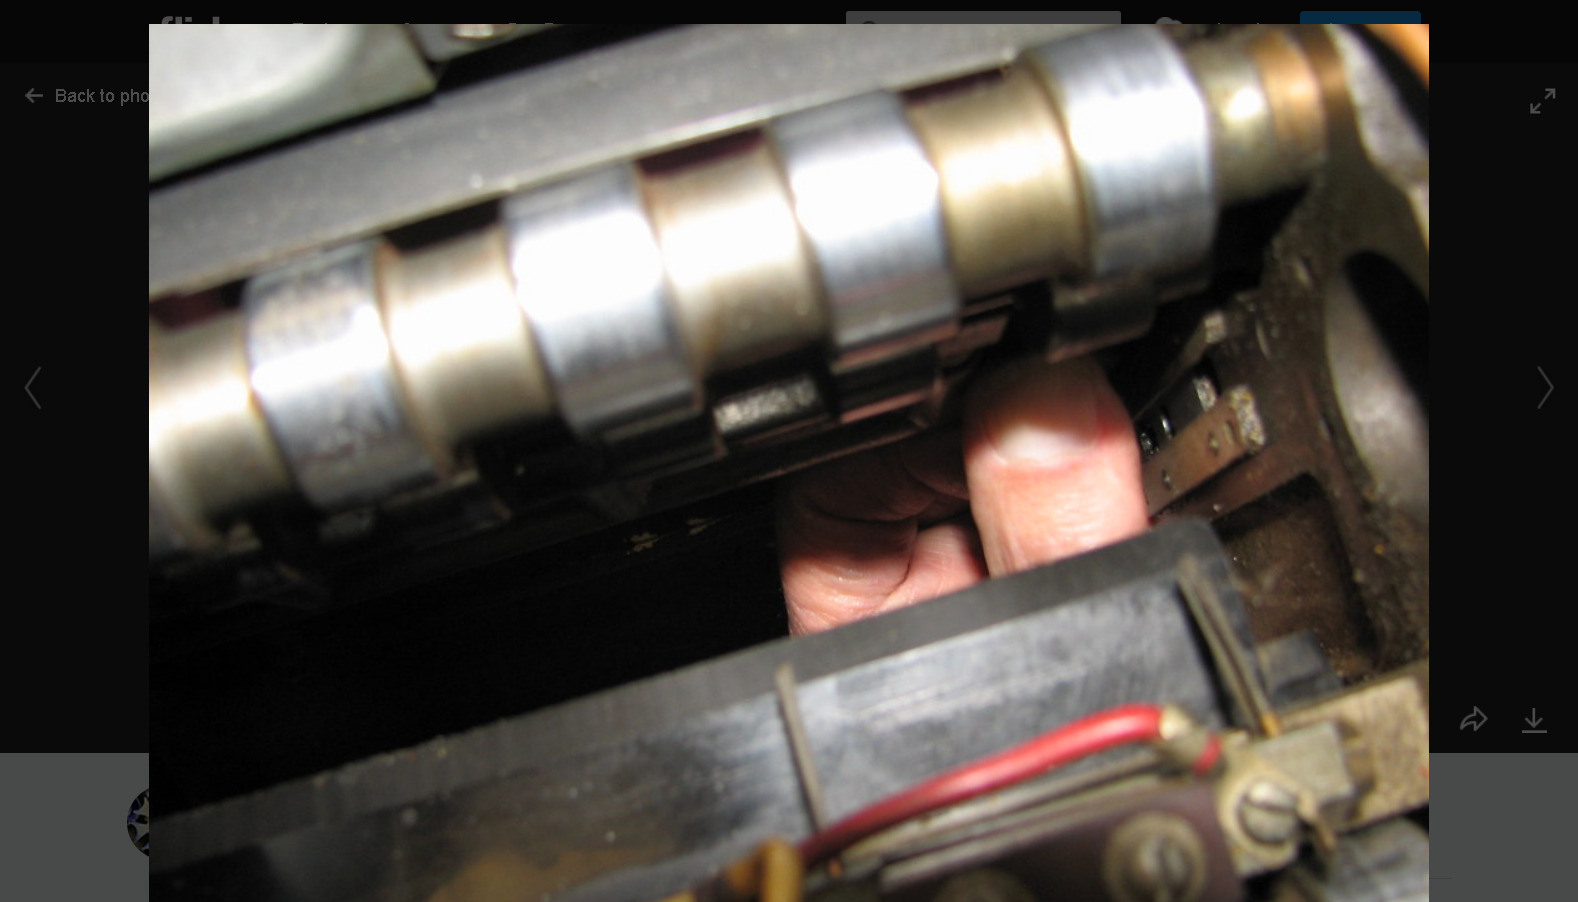
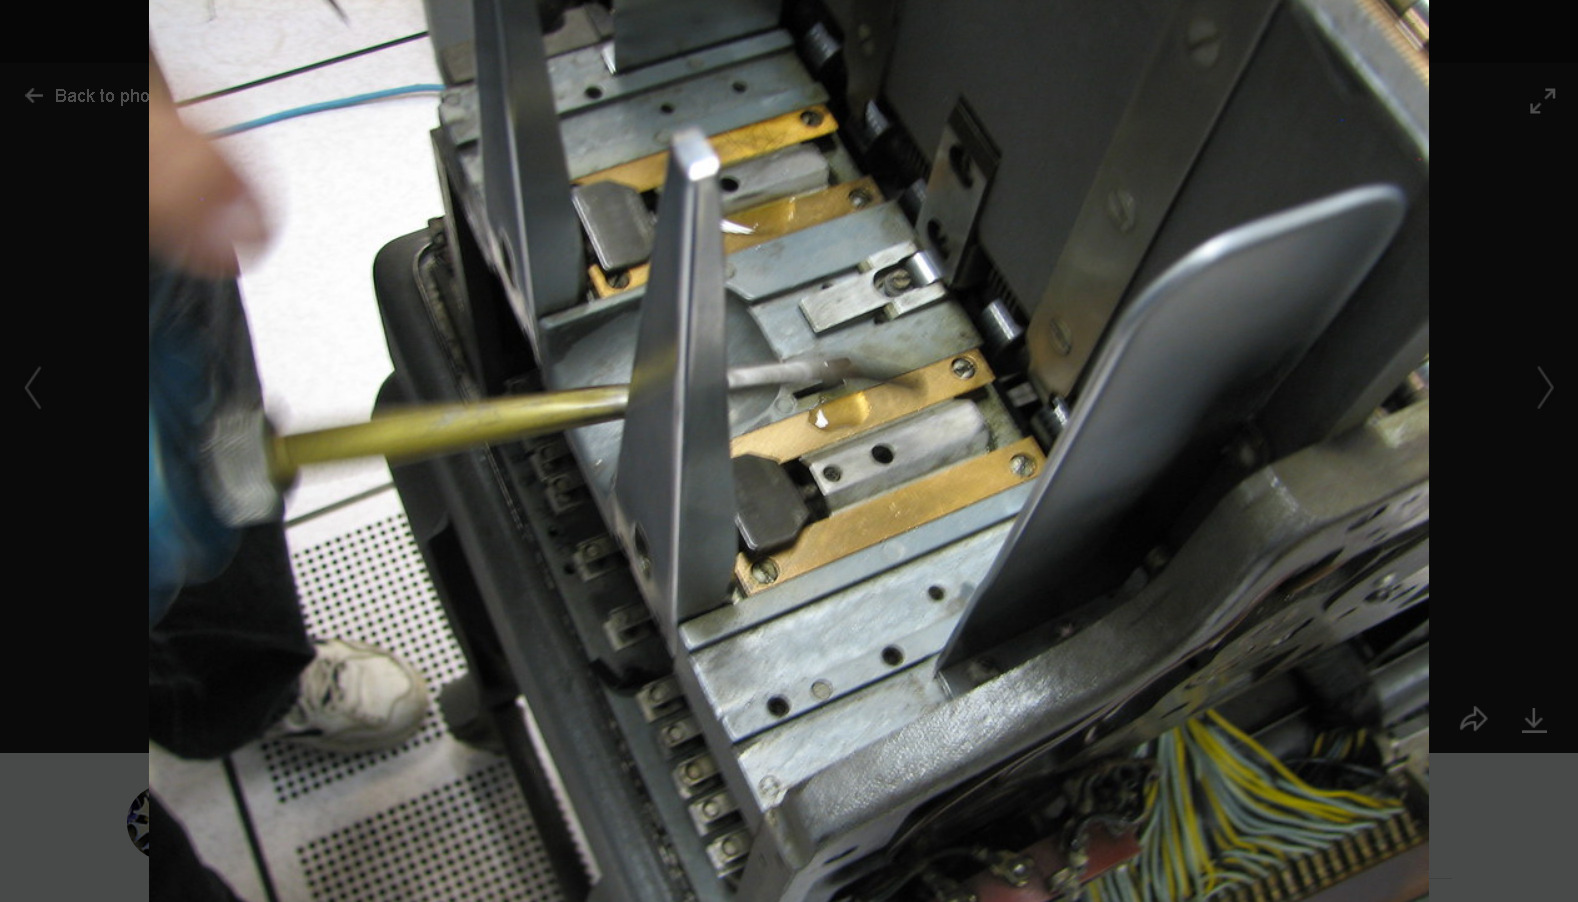
77. Oil slides - Put oil on the slides and let it soak in.

78. Wipe the oil - Wipe the remaining oil off the slides after it has soaked in well.

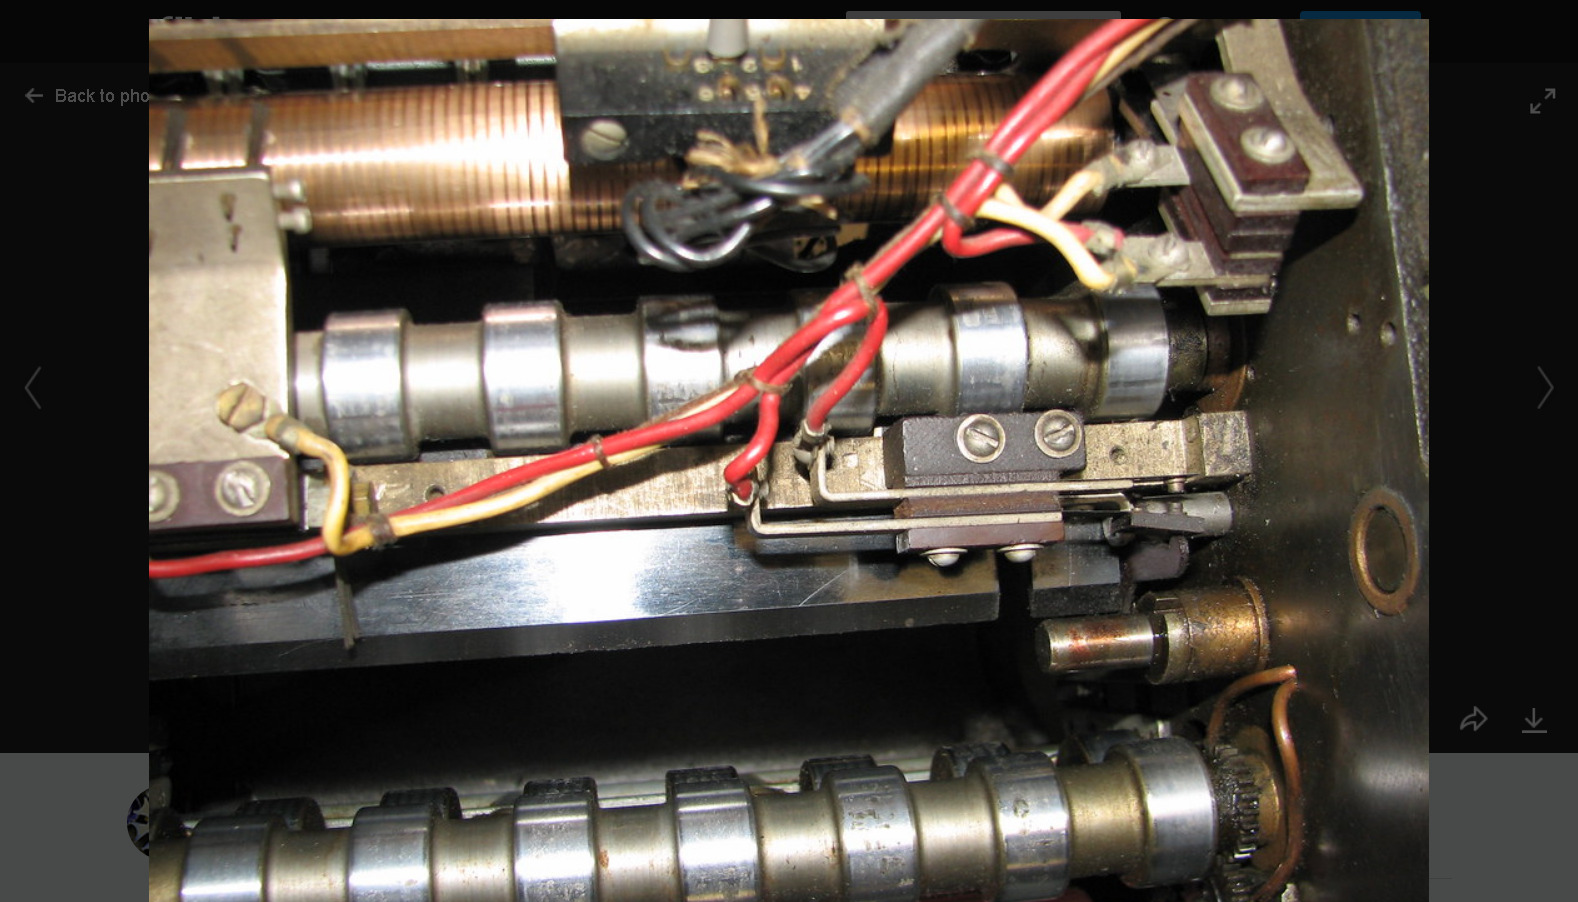
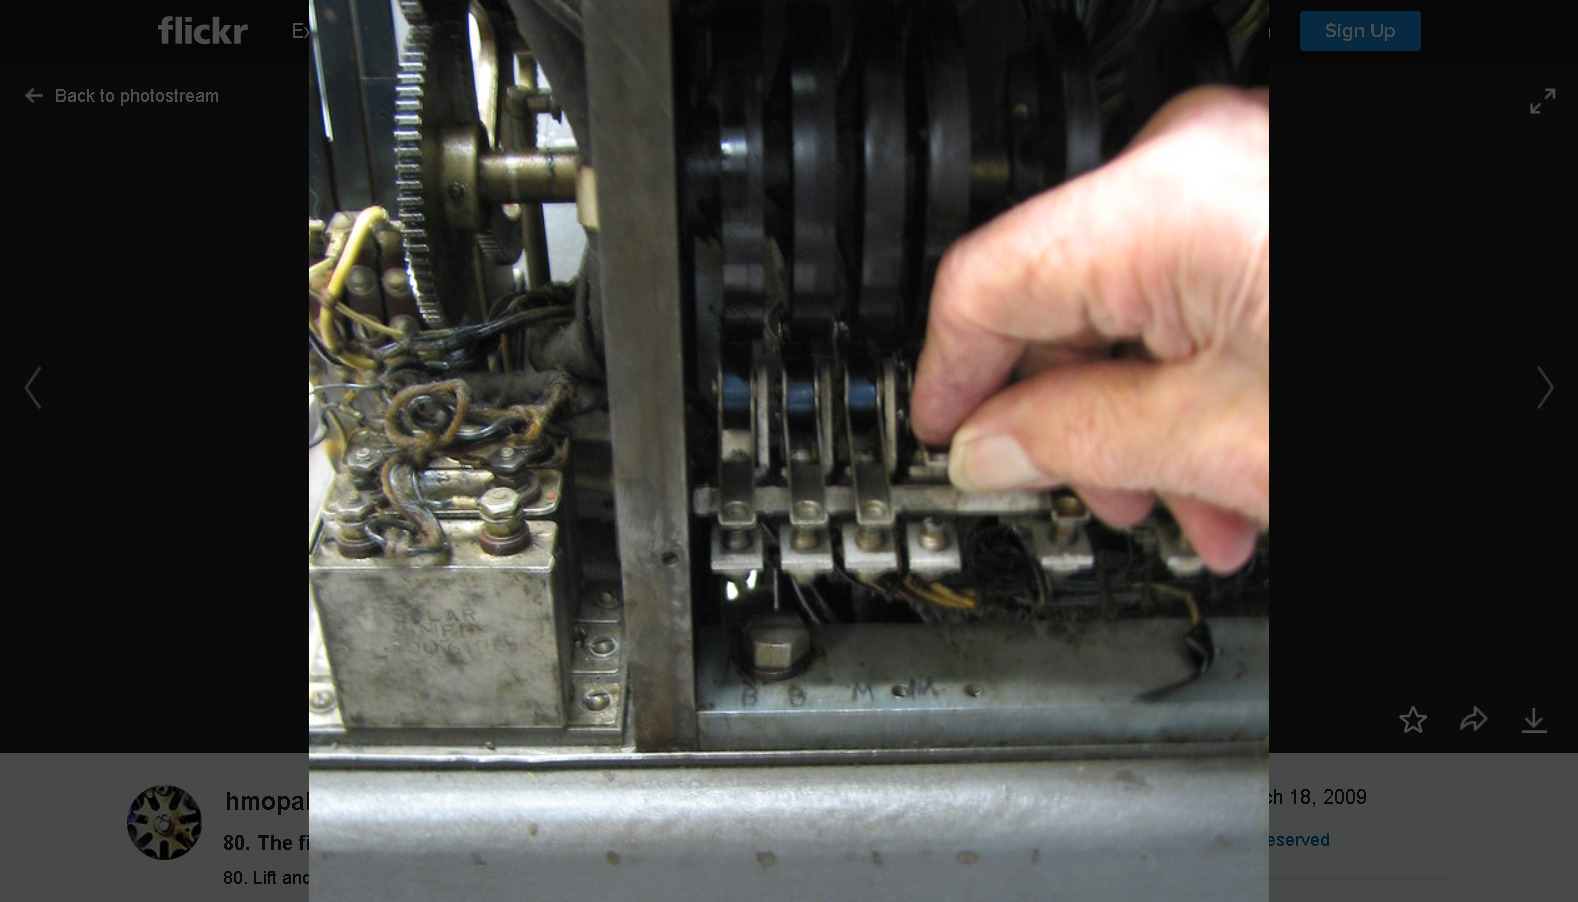
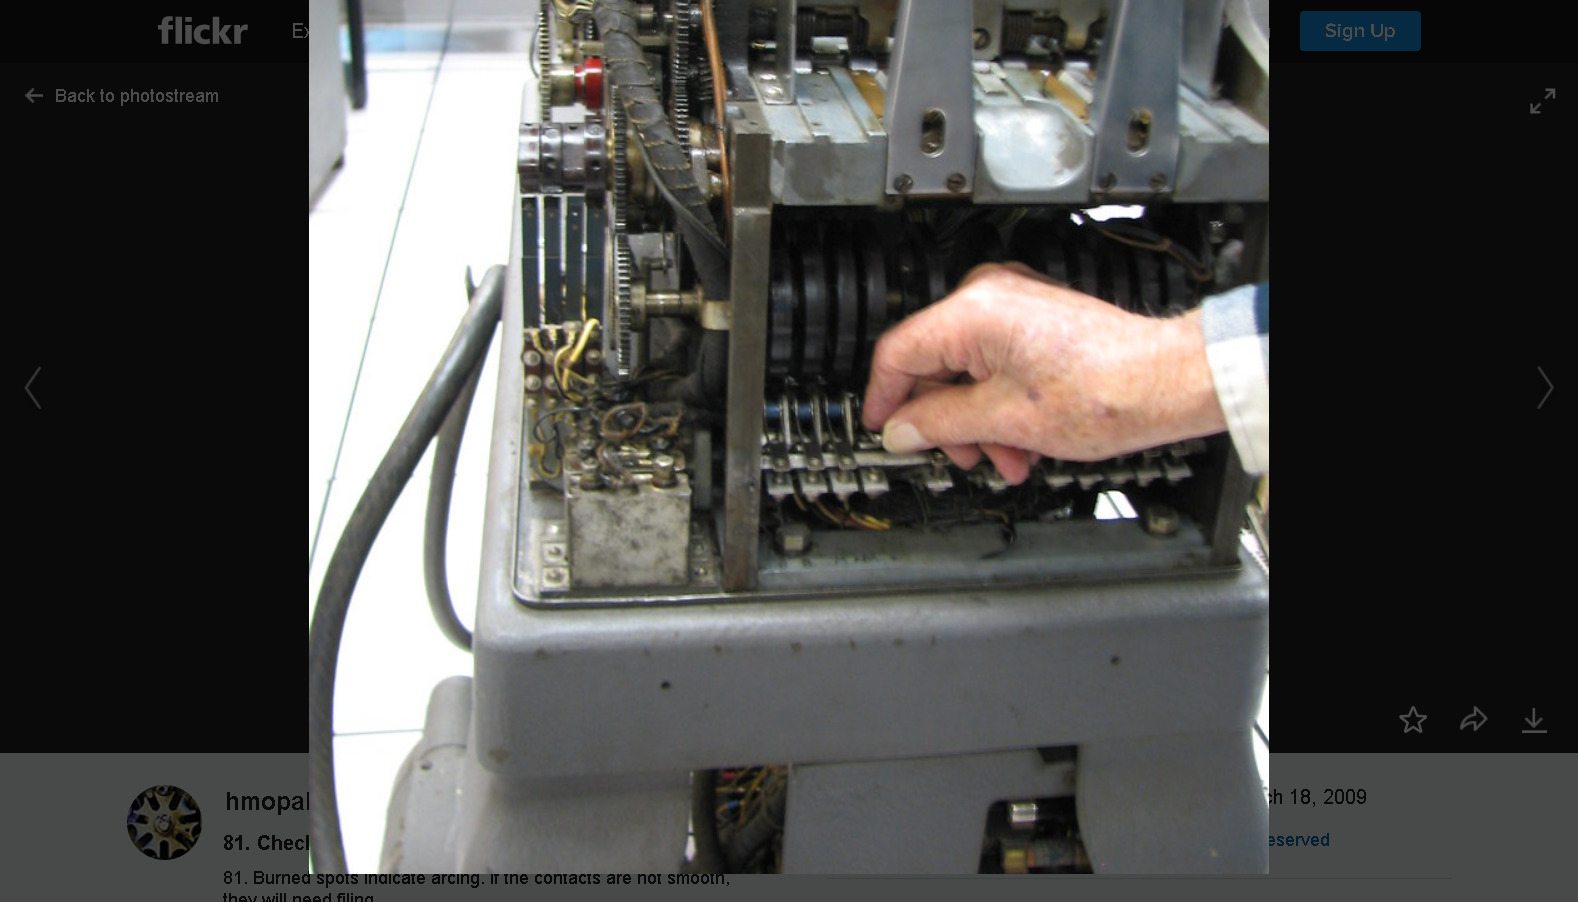
79. Check contacts - Check the four leftmost contacts - they are the ones most likely to be burned by arcing.

80. The first four contacts - Lift and check for burnt spots.

81. Check for arcing - Burned spots indicate arcing. If the contacts are not smooth, they will need filing.

82. File burrs - File the burr off with a flex stone and then wipe the deposit off with your finger.

83. Finished! - Put it all back together. Now you can punch some cards and make some chips.